How to Capture Screenshots on Your Mac

Taking screenshots on a Mac is a straightforward process, offering various methods to capture your screen and its contents. This guide will explore the different techniques, providing a comprehensive understanding of how to effectively utilize the built-in screenshot tools and enhance your productivity.
The Basic Screenshot: A Simple Capture

To begin, let’s delve into the fundamental screenshot functionality on a Mac. This method allows you to capture the entire screen with a single keystroke.
Command + Shift + 3: The Classic Screenshot
By pressing Command + Shift + 3 simultaneously, your Mac will create a screenshot of the entire screen. This shortcut is a quick and efficient way to capture any moment on your display.
Upon activation, you’ll notice a camera shutter sound, and the screenshot will be saved to your desktop as a PNG file with a timestamped name. For example, it might be named “Screen Shot 2023-08-23 at 10.35.42 AM.png.”
This basic screenshot function is a great starting point, but there’s more to uncover when it comes to capturing specific areas or windows.
Customizing Your Screenshots: Beyond the Basics

While the classic screenshot is a handy tool, sometimes you need more control over what you capture. Here’s how to customize your screenshots to suit various scenarios.
Command + Shift + 4: Screenshot Selection
For a more precise capture, use Command + Shift + 4. This combination transforms your cursor into a crosshair, allowing you to select a specific area of your screen.
Click and drag the crosshair to create a rectangle around the desired content. Once you release the mouse button, a screenshot of the selected area will be captured and saved to your desktop, just like the full-screen capture.
This method is particularly useful when you want to focus on a particular element, such as a graph, a portion of text, or a specific window.
Adding Variety: Saving to the Clipboard
By default, screenshots are saved to your desktop. However, you can modify this behavior by adding the Control key to the mix.
- Command + Shift + 3 + Control: Saves the full-screen screenshot to the clipboard.
- Command + Shift + 4 + Control: Captures the selected area and saves it to the clipboard.
With this approach, you can quickly paste the screenshot into any application that supports images, such as Word, PowerPoint, or even messaging apps.
Capturing Windows and Menus: A Focused Approach
Sometimes, you might want to showcase a specific window or menu without the surrounding clutter. The Mac screenshot tool offers a solution for this as well.
When using Command + Shift + 4, you can press the Spacebar after selecting an area. This action will transform your cursor into a camera icon, allowing you to click on any window or menu to capture it precisely.
This method is perfect for showcasing specific app interfaces, toolbars, or even error messages without unnecessary distractions.
The Delay Feature: Perfect for Timed Captures
In certain situations, you might need to capture a screenshot after a short delay. This could be useful when you want to ensure a particular menu or element is visible before taking the snapshot.
To enable the delay feature, press Command + Shift + 4, and then press the Control and Shift keys simultaneously. This will display a small menu with a 5-second timer, allowing you to capture the screenshot after the delay.
This technique is particularly handy when dealing with drop-down menus or other time-sensitive elements.
Advanced Screenshot Techniques: Elevating Your Captures
Beyond the basic and customized screenshots, Mac offers some advanced features to enhance your screenshot experience and streamline your workflow.
The Screenshot App: A Dedicated Tool
While the keyboard shortcuts are convenient, Mac also provides a dedicated Screenshot app. This app offers a user-friendly interface and additional features to refine your screenshot process.
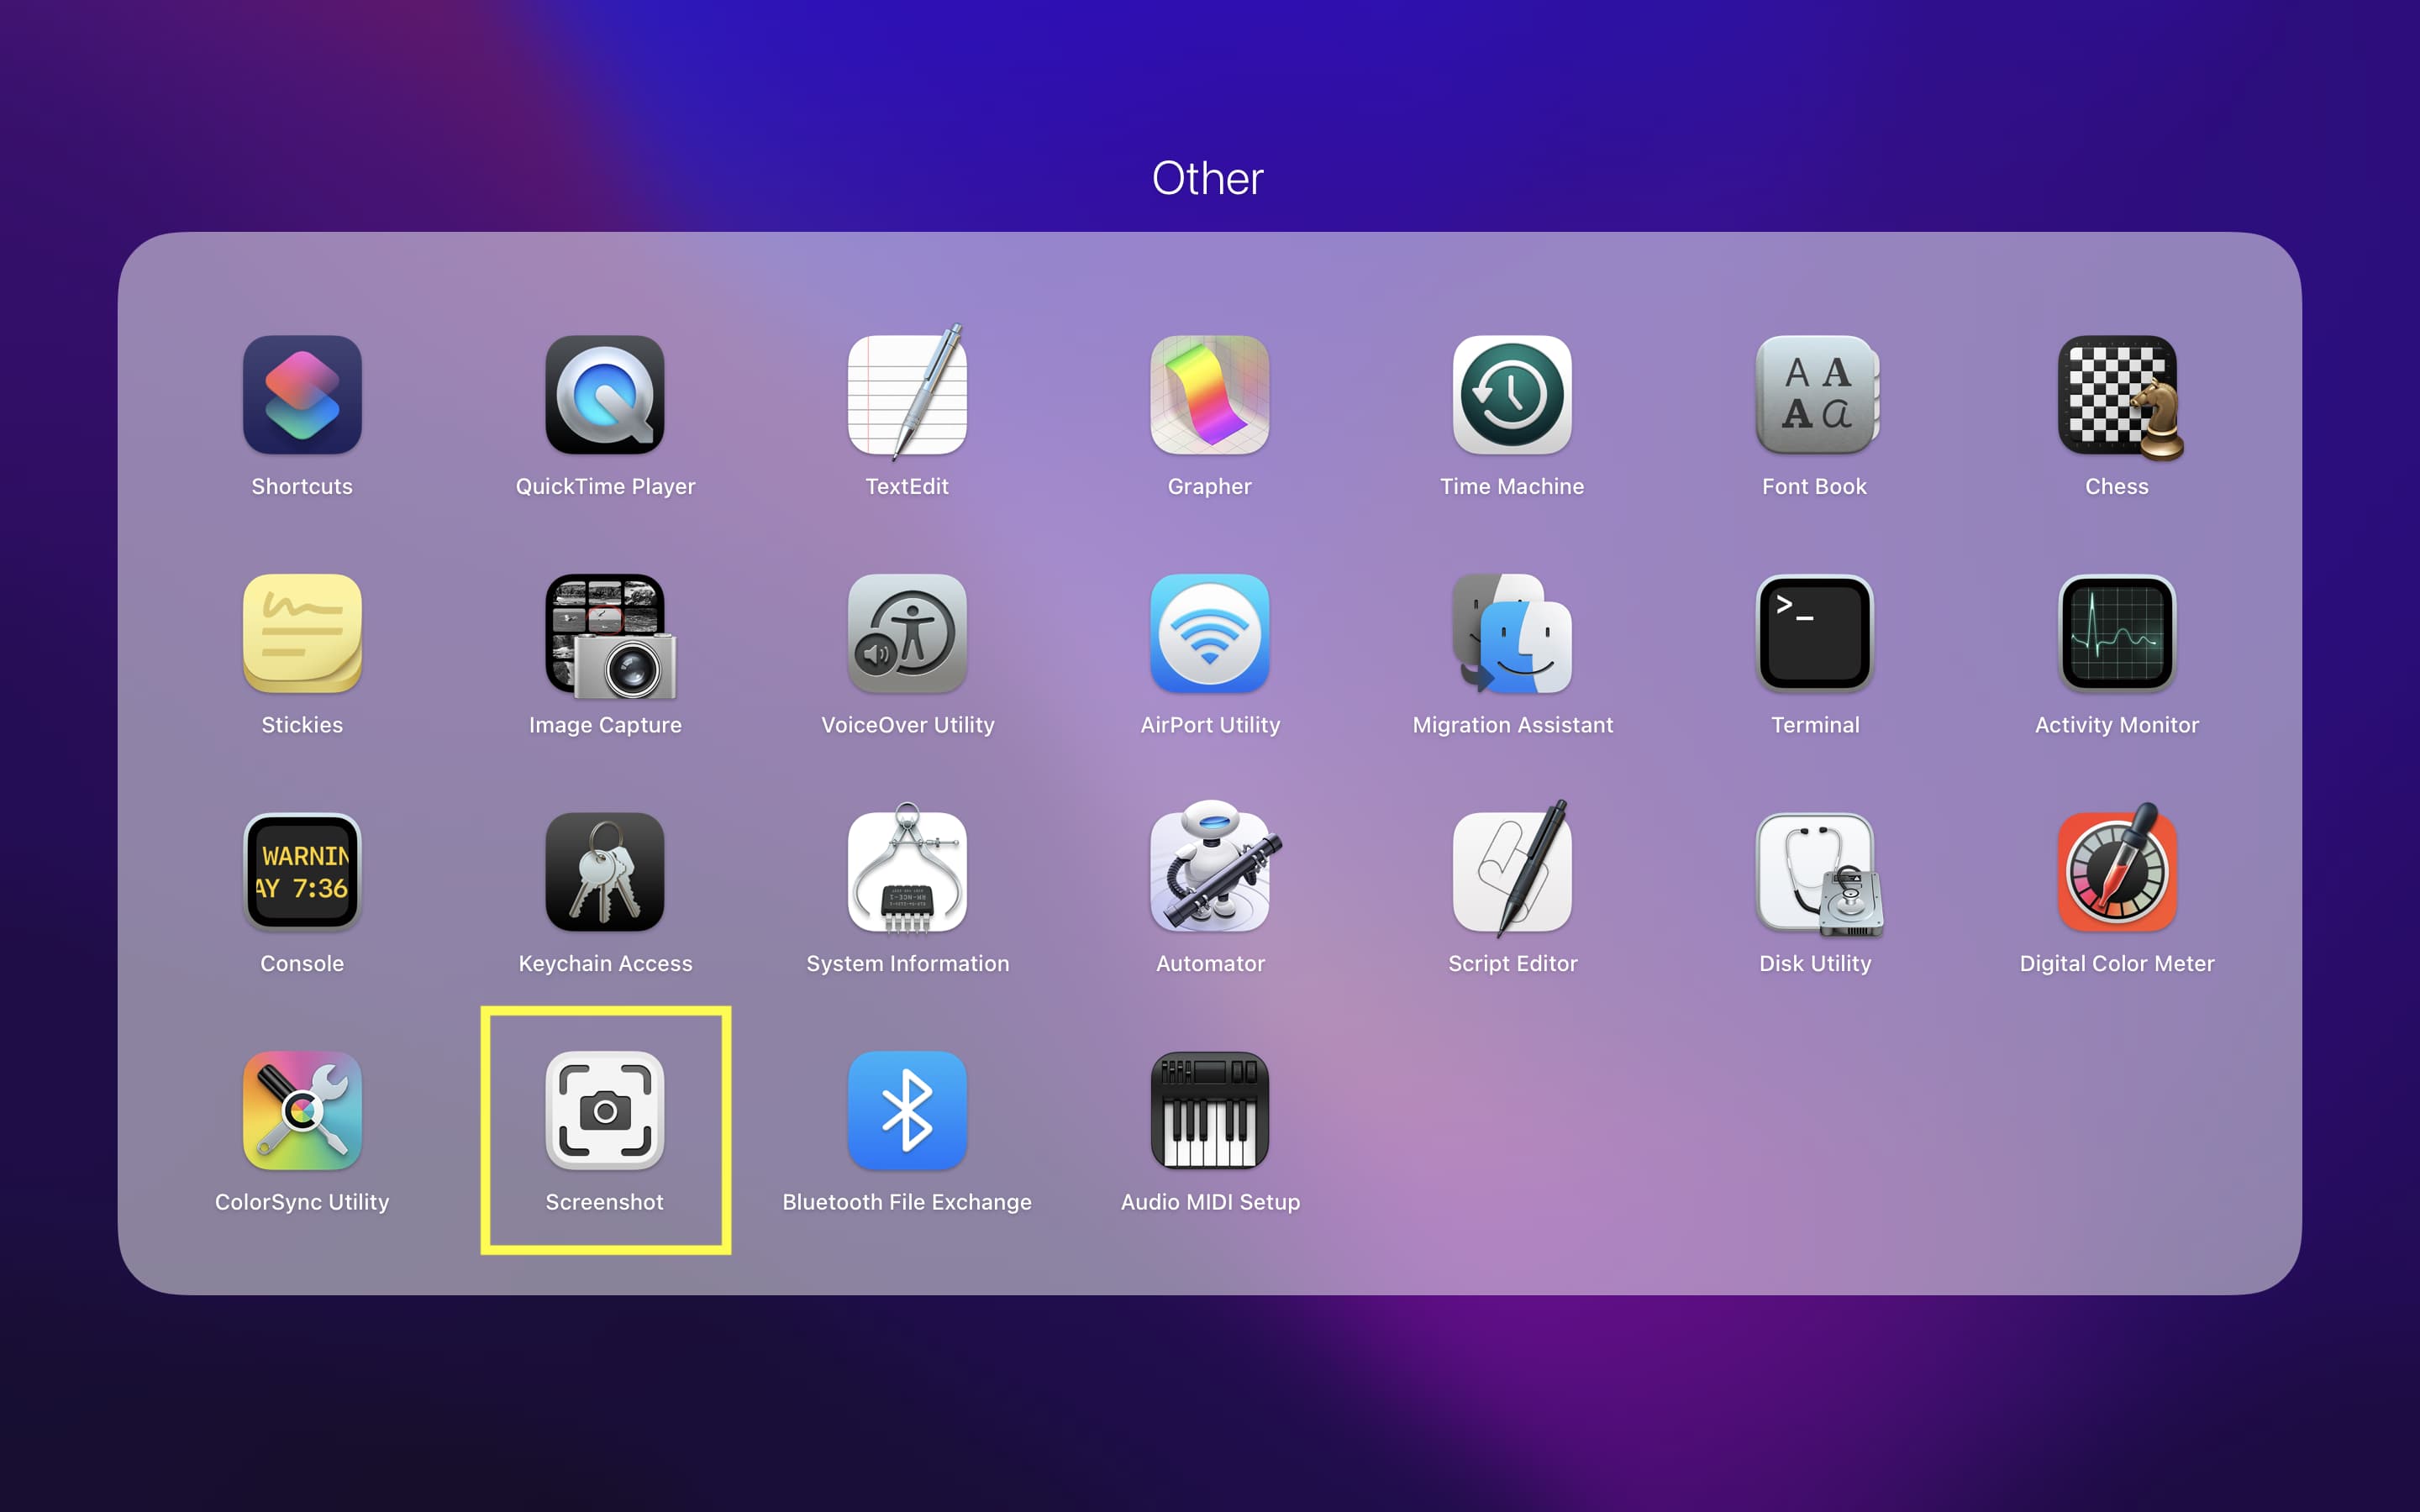
To access the Screenshot app, use Command + Shift + 5 or navigate to it through your Applications folder. From here, you can:
- Select a specific area, window, or full screen for capture.
- Choose between different capture types: full screen, selected area, or selected window.
- Set a timer for delayed captures.
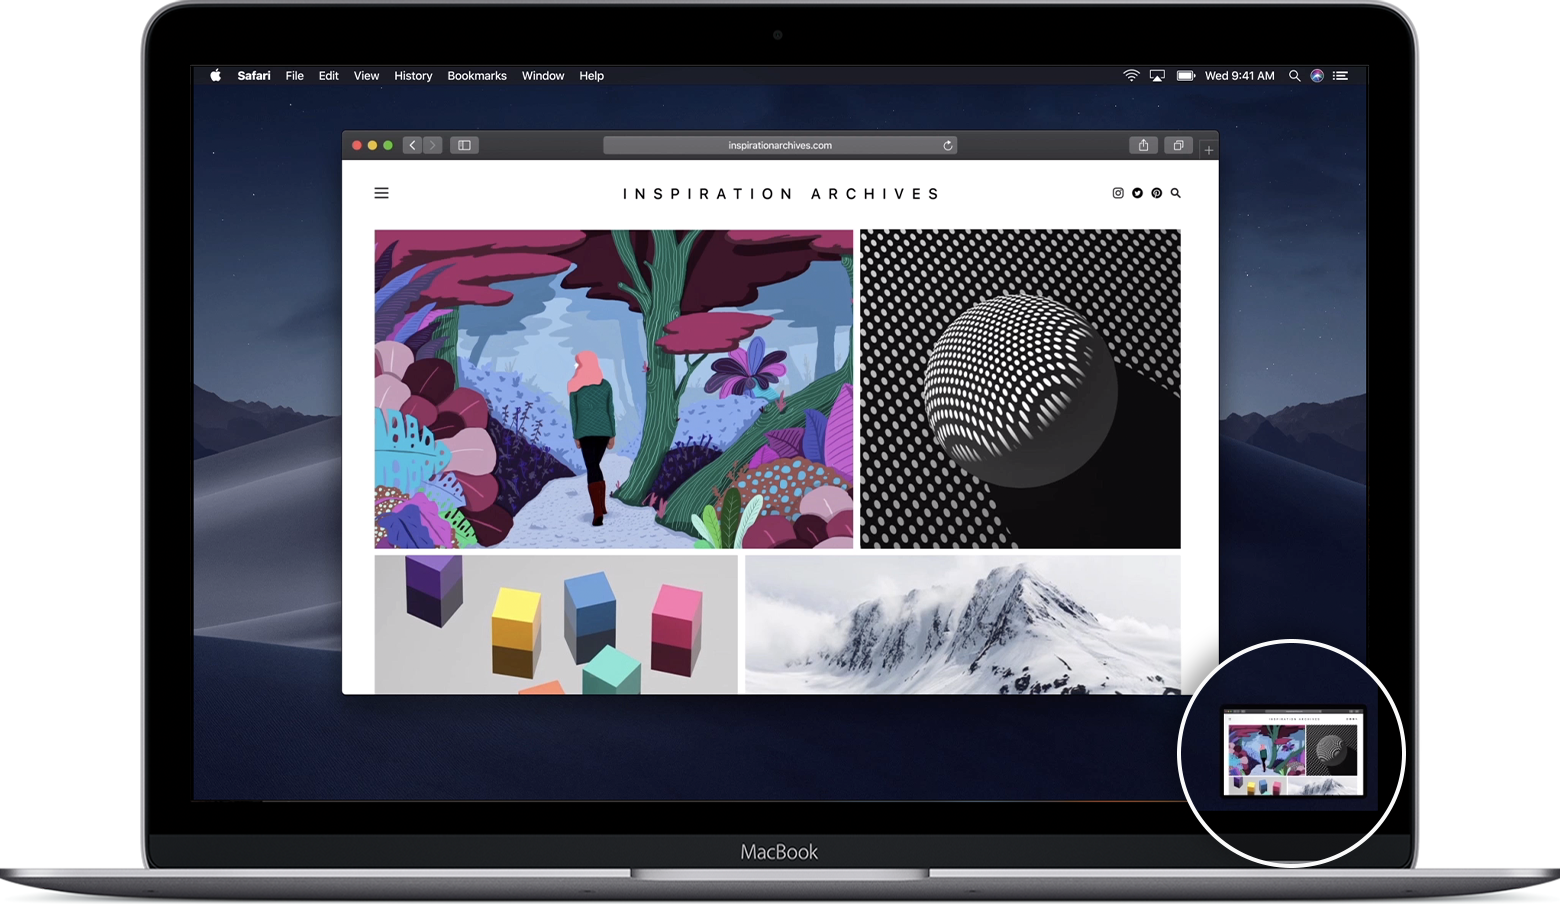
- Enable the floating thumbnail, which allows you to edit and share the screenshot immediately.
- Access advanced options, such as showing the mouse pointer or capturing the menu bar.
The Screenshot app is a powerful tool for those who require more control and flexibility in their screenshot workflow.
Markup and Editing: Enhancing Your Screenshots
Mac provides built-in editing tools to refine your screenshots after capture. This feature is particularly useful for adding annotations, highlighting important elements, or making quick edits.
To access the editing tools, simply click on the thumbnail that appears after capturing a screenshot. This will open the screenshot in a preview window, where you can:
- Add text, shapes, and arrows to highlight specific areas.
- Use the markup tools to crop, rotate, or resize the image.
- Adjust brightness, contrast, or apply other image adjustments.
- Save the edited screenshot or share it directly.
These editing capabilities ensure that your screenshots are not only accurate but also visually appealing and informative.
Automator: Automating Your Screenshot Workflow
For advanced users, Mac’s Automator app can be a powerful tool for automating complex screenshot tasks. With Automator, you can create custom workflows to streamline your screenshot process.
For example, you could create an Automator workflow to capture a screenshot, apply specific edits, and then save it to a designated folder with a unique filename. This automation can save time and effort, especially for repetitive screenshot tasks.
To access Automator, simply search for it in your Applications folder or use Spotlight Search.
Conclusion: Mastering the Art of Screenshots
Capturing screenshots on a Mac is a versatile and powerful skill, offering various methods to suit different needs. From basic full-screen captures to advanced editing and automation, the Mac ecosystem provides a comprehensive suite of tools to enhance your screenshot capabilities.
Whether you’re a developer, designer, or simply need to capture moments on your screen, understanding these techniques will elevate your productivity and efficiency. So, explore the different methods, experiment with the tools, and discover the power of screenshots on your Mac.
Can I change the default screenshot format or location?
+Yes, you can customize the screenshot format and location. To change the format, open System Preferences, go to “Screenshots,” and select your preferred format from the “File format” dropdown. To change the location, navigate to the “Save location” section and choose a different folder.
How do I capture a scrolling screenshot on a webpage?
+To capture a scrolling screenshot on a webpage, use the Screenshot app. Select the “Full Page” option, and the app will automatically scroll through the page and capture the entire content, saving it as a single image.
Are there any third-party apps that enhance screenshot functionality?
+Yes, several third-party apps offer advanced screenshot features. Some popular options include Skitch, Monosnap, and CleanShot X, which provide additional editing tools, annotation capabilities, and even GIF recording.


