The Ultimate Guide to Uninstalling IIS

Uninstalling Internet Information Services (IIS) is a crucial step for those looking to optimize their system or switch to alternative web servers. This guide aims to provide an in-depth, comprehensive tutorial on how to effectively uninstall IIS, ensuring a smooth and complete removal process.
Understanding IIS and Its Impact

IIS, a web server created by Microsoft, is an integral part of the Windows operating system. It plays a significant role in hosting websites and web applications, offering a range of features for developers and administrators. However, there are instances where removing IIS becomes necessary, especially when it’s no longer required or when alternative web servers are preferred.
The decision to uninstall IIS can be driven by various factors. For instance, system administrators might need to optimize resource allocation by removing unused services, improving overall system performance. Additionally, developers working with different web server technologies may find it beneficial to remove IIS to avoid potential conflicts and ensure a clean development environment.
Step-by-Step Guide to Uninstalling IIS

To ensure a successful and complete removal of IIS, follow these detailed steps:
Step 1: Preparing for Uninstallation
Before initiating the uninstallation process, it’s essential to perform a few preparatory steps:
- Ensure that all websites and web applications hosted on IIS are backed up. This ensures that no data is lost during the removal process.
- Identify any dependencies on IIS. Certain applications or services might rely on IIS components. Ensure that these dependencies are either migrated or removed before proceeding with IIS uninstallation.
- Check for any custom configurations or extensions made to IIS. These may need to be reversed or removed to ensure a clean uninstallation.
Step 2: Uninstalling IIS Components
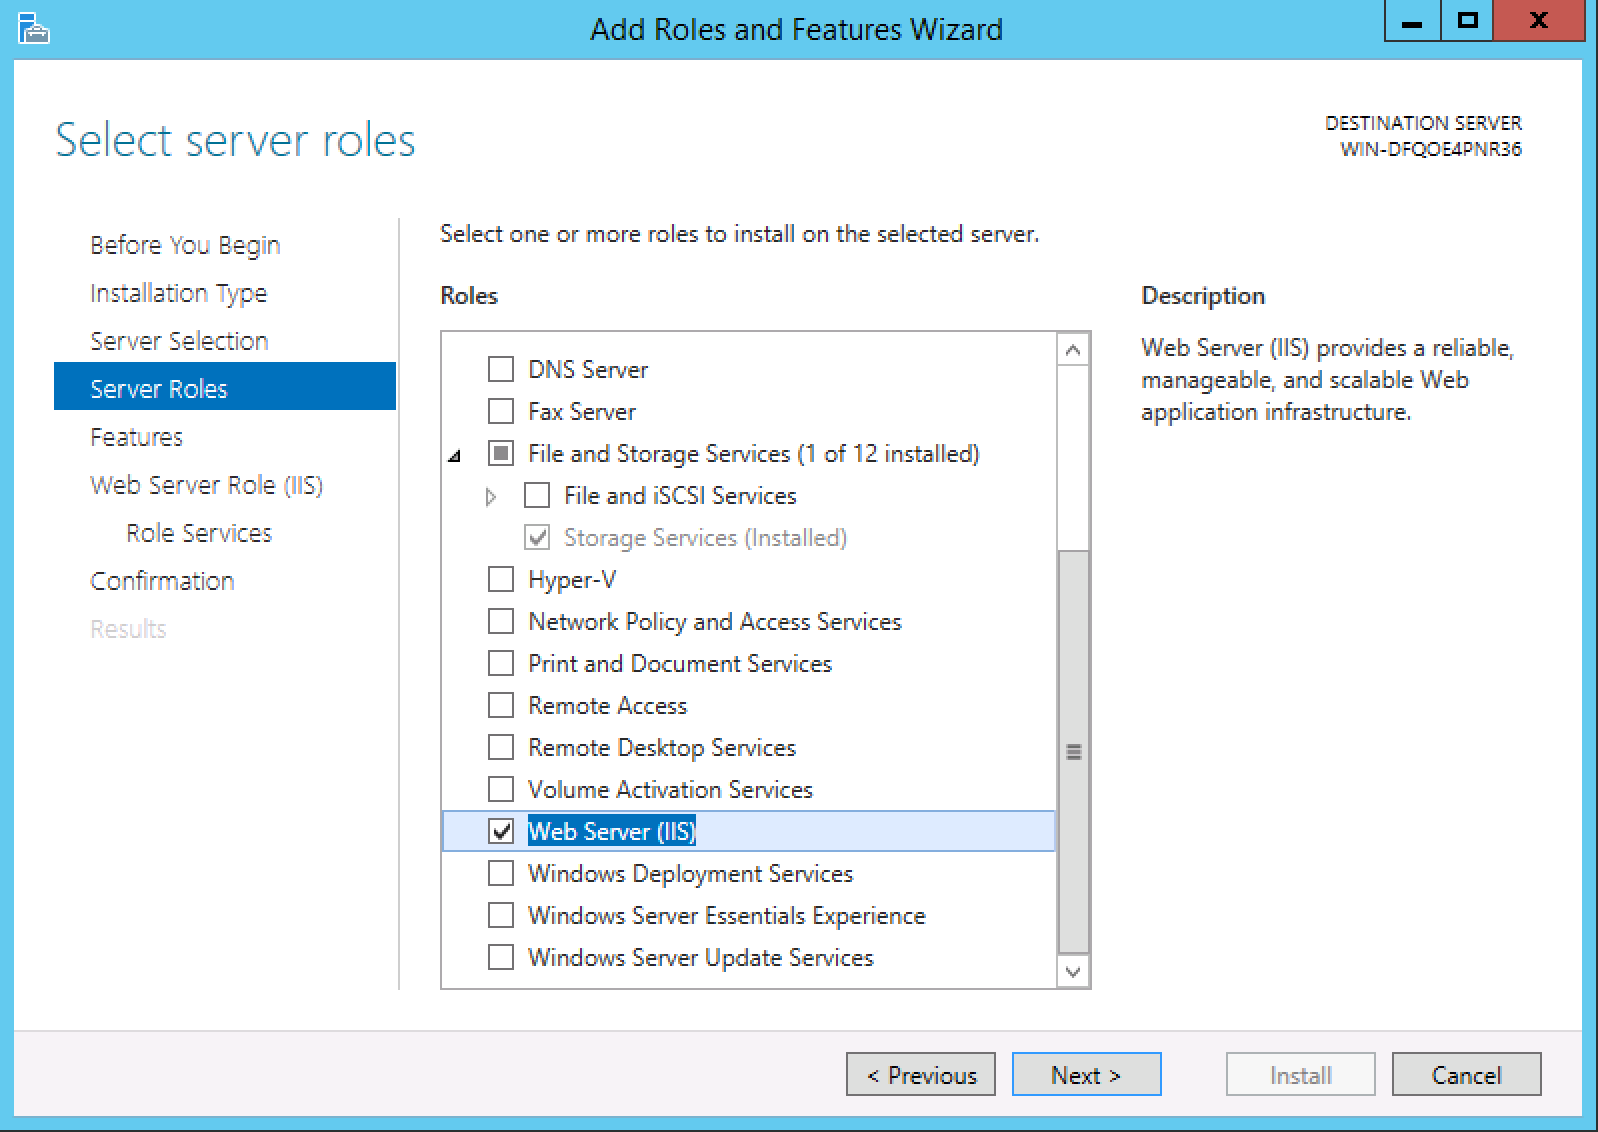
IIS is composed of various components, each serving a specific function. To ensure a thorough uninstallation, it’s necessary to remove each component individually:
- Open the Control Panel and navigate to Programs and Features.
- Locate and select Turn Windows features on or off from the list of options.
- In the Windows Features window, scroll down and expand the Internet Information Services section.
- Deselect all the IIS components, including Web Management Tools, Web Server, and any other sub-components. This ensures a complete removal of IIS.
- Click OK to initiate the uninstallation process.
- Wait for the uninstallation to complete. The process may take a few minutes, depending on the number of components being removed.
Step 3: Removing IIS-Related Files and Folders
While the above steps ensure the removal of IIS components, certain files and folders associated with IIS might still remain on the system. To ensure a clean uninstall, it’s essential to manually remove these remnants:
- Navigate to the C:\inetpub folder. This is the default location for IIS web content. Delete all the files and folders within this directory.
- Locate and delete the C:\Windows\System32\inetsrv folder. This folder contains IIS-related files and executables.
- Clear the C:\Windows\Temp folder. IIS might have created temporary files here during its operation.
- Run the Disk Cleanup utility to remove any remaining IIS-related files and optimize disk space.
Step 4: Verifying the Uninstallation
After completing the uninstallation process, it’s crucial to verify that IIS has been successfully removed from the system:
- Check the Control Panel > Programs and Features to ensure that IIS and its components are no longer listed.
- Attempt to start the Internet Information Services (IIS) Manager from the Administrative Tools. If IIS has been uninstalled correctly, this application should not be available.
- Verify that the IIS-related services, such as World Wide Web Publishing Service, are no longer running.
Potential Challenges and Troubleshooting
While the above steps provide a comprehensive guide to uninstalling IIS, certain challenges may arise during the process:
Dependency Issues
IIS might be relied upon by other applications or services. In such cases, removing IIS can lead to unexpected behavior or errors in these dependent applications. It’s crucial to identify and resolve these dependencies before proceeding with the uninstallation.
Residual Files and Registry Entries
Even after following the uninstallation steps, some residual files and registry entries might remain. These remnants can cause conflicts or issues with other web servers or applications. Regularly checking for and removing these remnants is essential to ensure a clean and functional system.
Conclusion: The Benefits of a Clean Uninstall
Uninstalling IIS can offer several benefits, including improved system performance, reduced resource usage, and a streamlined development environment. By following this comprehensive guide, users can ensure a complete and successful uninstallation, paving the way for alternative web server implementations or system optimizations.
Can I reinstall IIS after uninstalling it?
+Yes, you can reinstall IIS at any time. Simply follow the installation process provided by Microsoft, and IIS will be reinstalled with all its default components and settings.
What are the potential risks of uninstalling IIS without proper backup and preparation?
+Uninstalling IIS without proper backup and preparation can lead to data loss and potential system instability. It’s crucial to ensure that all websites and web applications are backed up, and any dependencies are addressed before proceeding with the uninstallation.
Are there any alternative web servers that can replace IIS?
+Yes, there are several alternative web servers available, such as Apache HTTP Server, Nginx, and LiteSpeed Web Server. These servers offer similar functionality to IIS and can be considered as potential replacements depending on the specific use case and requirements.


