Easy Guide: Install Python 3.9 in Ubuntu 22.04

In this step-by-step guide, we'll walk you through the process of installing Python 3.9 on your Ubuntu 22.04 system. Python is a popular programming language known for its versatility and ease of use, and having the latest version can be beneficial for developers and enthusiasts alike. By following these instructions, you'll have Python 3.9 up and running on your Ubuntu machine in no time.
Preparing Your Ubuntu System

Before we begin the installation process, it’s important to ensure your Ubuntu system is properly prepared. Here are the initial steps to get your environment ready:
Update Package Lists
To ensure you have access to the latest packages, update your system’s package lists by opening a terminal and running the following command:
sudo apt updateInstall Required Dependencies
Python relies on several dependencies to function correctly. To install these dependencies, execute the following command in your terminal:
sudo apt install build-essential libssl-dev zlib1g-dev libbz2-dev libreadline-dev libsqlite3-dev wget curl llvm libncurses5-dev libncursesw5-dev xz-utils tk-devDownloading and Installing Python 3.9

Now that your system is prepared, we can proceed with downloading and installing Python 3.9. Follow these steps:
Download Python 3.9 Source Code
To download the source code for Python 3.9, use the wget command in your terminal. The official Python website provides the latest version of the source code, which we’ll download and compile.
wget https://www.python.org/ftp/python/3.9.7/Python-3.9.7.tgzExtract the Downloaded File
Once the download is complete, extract the downloaded file using the following command. This will create a new directory named Python-3.9.7 containing the Python source code.
tar xzf Python-3.9.7.tgzNavigate to the Python Source Directory
To begin the compilation process, move into the Python-3.9.7 directory using the cd command.
cd Python-3.9.7Compile and Install Python 3.9
Now, we’ll compile and install Python 3.9 using the configure script. This script will automatically detect and configure the necessary settings for your system.
sudo ./configure --enable-optimizations
sudo make altinstall
The altinstall command ensures that the existing Python installation is not overwritten, allowing you to have multiple Python versions on your system.
Verifying the Installation
To ensure that Python 3.9 has been successfully installed, we can verify its version and check if it’s added to the system’s PATH.
Check Python Version
Open a new terminal window or run the following command to see the installed Python version:
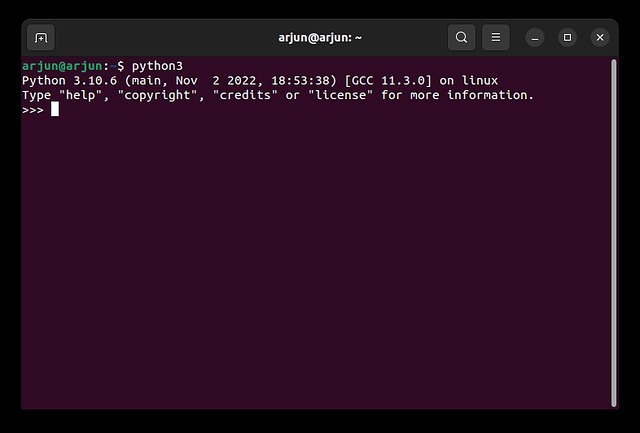
python3.9 --versionIf the installation was successful, you should see output similar to:
Python 3.9.7Verify PATH
To ensure that Python 3.9 is accessible from anywhere on your system, check if its installation directory is added to the PATH environment variable. Open your ~/.bashrc file and search for a line similar to:
PATH="$PATH:/usr/local/bin"If the path /usr/local/bin is not present, add it to your PATH. Save the file and source it to apply the changes:
echo 'PATH="$PATH:/usr/local/bin"' >> ~/.bashrc
source ~/.bashrc
Additional Considerations
After installing Python 3.9, there are a few additional steps you might want to take to optimize your development environment.
Setting Up a Virtual Environment
Virtual environments allow you to isolate your Python projects, ensuring that each project has its own set of dependencies. To create a virtual environment for Python 3.9, use the venv module:
python3.9 -m venv myenvThis command creates a new virtual environment named myenv in the current directory. To activate the virtual environment, use the following command:
source myenv/bin/activateInstalling Package Managers
Package managers like pip and conda are essential for managing Python packages and libraries. If you haven’t installed them yet, you can do so using the following commands:
sudo apt install python3-pip
python3.9 -m pip install --upgrade pip
Python IDEs and Editors
Choosing the right IDE or editor is crucial for efficient Python development. Some popular options include:
- VSCode with Python Extension: A lightweight and customizable editor with excellent Python support.
- PyCharm: A powerful IDE from JetBrains, offering a wide range of features for Python development.
- Jupyter Notebook: Ideal for data science and machine learning tasks, providing an interactive environment for coding.
Conclusion

Installing Python 3.9 on Ubuntu 22.04 is a straightforward process, and with the steps outlined above, you should have a fully functional Python environment. Remember to explore the additional considerations to further enhance your development experience. Happy coding!
What if I encounter errors during the installation process?
+If you encounter errors during the installation, it’s essential to check the specific error message. Common issues include missing dependencies or conflicts with other software. Ensure you have installed all the required dependencies listed earlier. If the issue persists, consider seeking help from online forums or the Python community.
Can I have multiple Python versions on my Ubuntu system?
+Yes, you can have multiple Python versions on your Ubuntu system. The altinstall command during the installation process ensures that the existing Python installation is not overwritten. This allows you to have different versions of Python installed simultaneously, which can be useful for testing and development.
How do I switch between different Python versions on Ubuntu?
+To switch between different Python versions on Ubuntu, you can use the update-alternatives command. This command allows you to set the default Python version for your system. For example, to set Python 3.9 as the default, you can run the following command:
sudo update-alternatives –install /usr/bin/python python /usr/bin/python3.9 1This command sets the priority of Python 3.9 to 1, making it the default Python version. You can verify the default version by running python –version.


